Just like a Basic fill, the most important aspect to setting a Basic stroke is choosing the stroke color.
To apply a stroke color using the Stroke inspector:
Select the object.
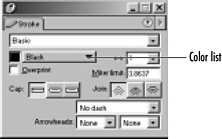
With the Stroke inspector displayed, choose Basic from the Stroke pop-up menu. This displays the Basic stroke settings

Choose a color for the stroke from the color list.
To apply a stroke color using the Tools panel:
Select the object.
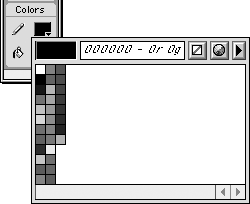
Click the triangle in the Stroke color box at the bottom of the Tools panel . This opens the pop-up color palette


Choose a color from the color palette. (See page 176 for information on how to change the color palette display.)
To apply a stroke by dragging:
Hold the Command key (Mac) or Ctrl+Shift keys (Win) after you drag the color swatch onto the object.The cursor changes to a box, indicating that only the stroke will be affected

To change the color of a stroke by dragging:
If a stroke has already been applied to an object, drag a color swatch from the Color Mixer or Swatches panel directly onto the edge of the object.
TIP
If you find it difficult to drag onto the edge, hold the keyboard modifiers mentioned in the previous exercise to ensure that only the stroke color changes.
To apply a stroke color using the Swatches panel:
Select the object.
TIP
Make sure that Basic or None is chosen in the Stroke inspector. If another type of stroke is listed, you may not see the color you choose.
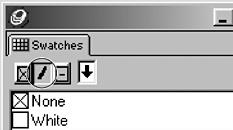
Click the Stroke drop box in the Swatches panel

Click the name of the color you wish to change the stroke to in the Swatches panel.
or
Drag a color swatch from the Swatches panel or the Color Mixer onto the Stroke color drop box.
Just as it does to fills, setting a stroke to None makes the stroke invisible.
To change a stroke to None:
Select the object you want to apply the None stroke to.
With the Stroke drop box selected, click None in the Swatches panel. An x appears in the Stroke drop box, indicating that there is no stroke.
or
Click the None icon in the Stroke color box pop-up palette
![]()
or
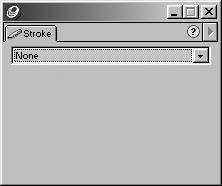
Choose None from the Stroke inspector list

TIP
Objects with no stroke or fill colors are invisible.
|